Do you have an awesome website that is finally ready to share with the world? Are you finally ready to stop running it on your local server or opening up your files in the browser, and ready to launch it onto the great and powerful internet?
I know I was in this situation at one stage. Going from a something running on your computer to something that anyone on the internet can access can be very intimidating.
I wrote more about how the internet works in a previous article, but I’ll briefly go over how your site is going to get to people.
First, your site needs to be hosted somewhere. What this means is that there needs to be a computer that will send the HTML files to someone when they load the website. This is commonly known as a server, but any computer can be used (the internet is just a massive network of computers).
However, hosting a website can be very scary for multiple reasons. First of all, you have to leave the server running and connected to the internet 24/7. This means that either you’re going to have to install a big server in your basement or never turn your computer off. Because of this, using your computer as a server is not a practical idea (unless you have an old computer that you never use).
That’s not the only problem. Even if you do buy a server, you will have to continually maintain it and make sure that it has enough processing power to serve your website. Ever heard of Google’s data centers? Here’s a pic:

Photo credit: Google
See all those things on racks? They’re all servers. Google needs this many servers (they have centers like these all over the world) because of the sheer amount of people who access Google.
Obviously you won’t have as many users as Google, but my point is that the more people view your site, the better your server needs to be. Also, bad servers can make your page load reeaaaally slowly.
The final and scariest problem with hosting your own site is security. You will have to connect your server up to your Wi-Fi router, meaning that people from anywhere in the world will be able to access your home network. While there are security measures in place, it does leave you very vulnerable to hacking.
The alternative?
Because of all these complications, people usually don’t host their websites themselves - instead, they pay for hosting. This means that you pay to put your HTML files on a server somewhere in the world in a data center similar to the one above, and they will take care and maintain the servers for you.
This can cost anywhere from about $4 a month to about $100 a month, depending on the speed and features of the server. (According to this great infographic)
Okay, so you can get hosting for relatively cheap if you want, but still - why pay for stuff when you don’t have to?
The free alternative?

Let me introduce you to something called GitHub Pages.
GitHub Pages hosts your website 100% for free. The single drawback is that other people can view all the files in your site, although often this can be a good thing. It means that anyone visiting your page on GitHub can see the work that went into making your site. In fact, often employers even select people due to their projects on GitHub (don’t worry, you can always delete them later if you feel they’re not your best work).
NOTE: I know that it sounds like I’m paid to promote GitHub or something, but I’m really not. I just really like using GitHub pages and think that you should too 😉
In this tutorial, I’m going to show you how to host your site on GitHub pages and sync GitHub to your computer so that you can make edits easily!
Note that this tutorial assumes you already have a folder with a website in it. If not, create a new folder and add basic index.html and style.css files.
Getting started
First of all, you’re going to need to sign up for an account at Github.com. I’ll be right here when you get back!
Next, you need to install GitHub Desktop on your computer - I’ll give you a sec to do that too (not really, I’m not writing this live as you’re reading it 😜)
Once you have installed GitHub Desktop, sign into your account (as detailed here). First, you need to create your repository. A repository is the place where you store all the files for your website, similar to the folder on your computer that contains your website.
Each repository has a URL where the hosted site ends up. There are two types of repositories: user repositories and project repositories.
For this example, let’s say your username was ‘example’. Your user repository would be hosted at example.github.io. Now let’s say you did a random number generator and called the repository randomnumber - then it would be hosted at example.github.io/randomnumber.
In this case, let’s say we’ve coded our main website - so we want it to be our user site. This means that instead of naming our repository something like randomnumber we need to name it example.github.io. For example, my GitHub repository name is booligoosh.github.io.
Creating a repository
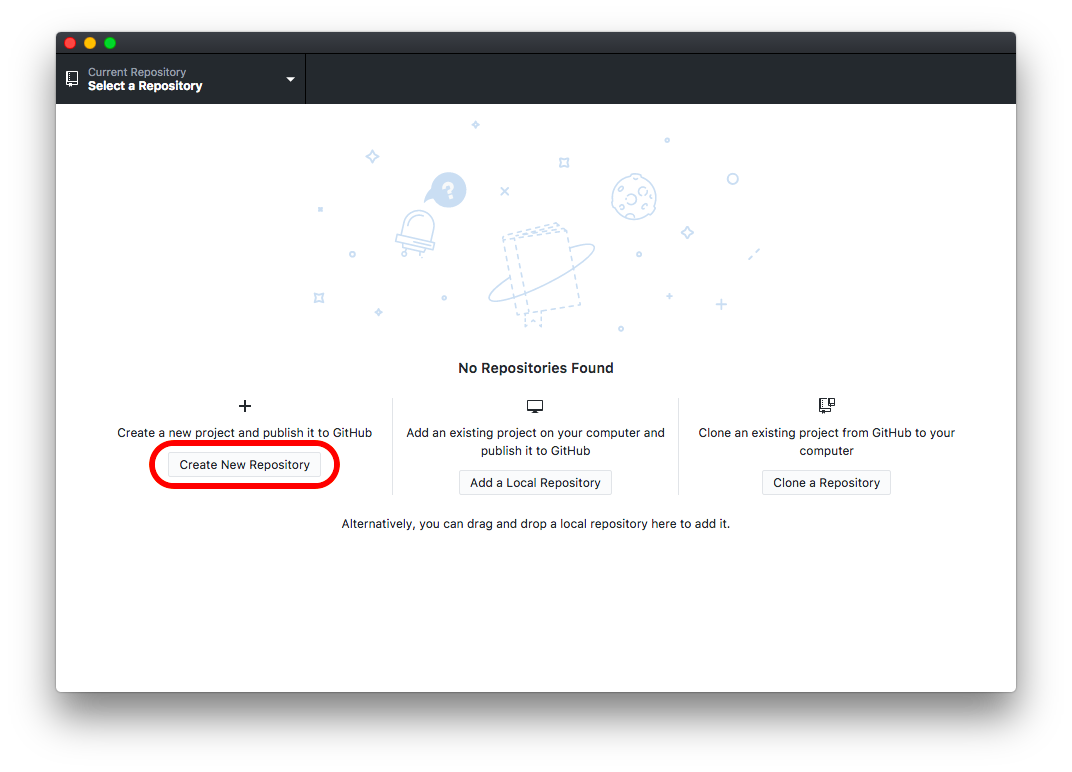
Okay, let’s create our repository now! Click the left option (Create new repository):
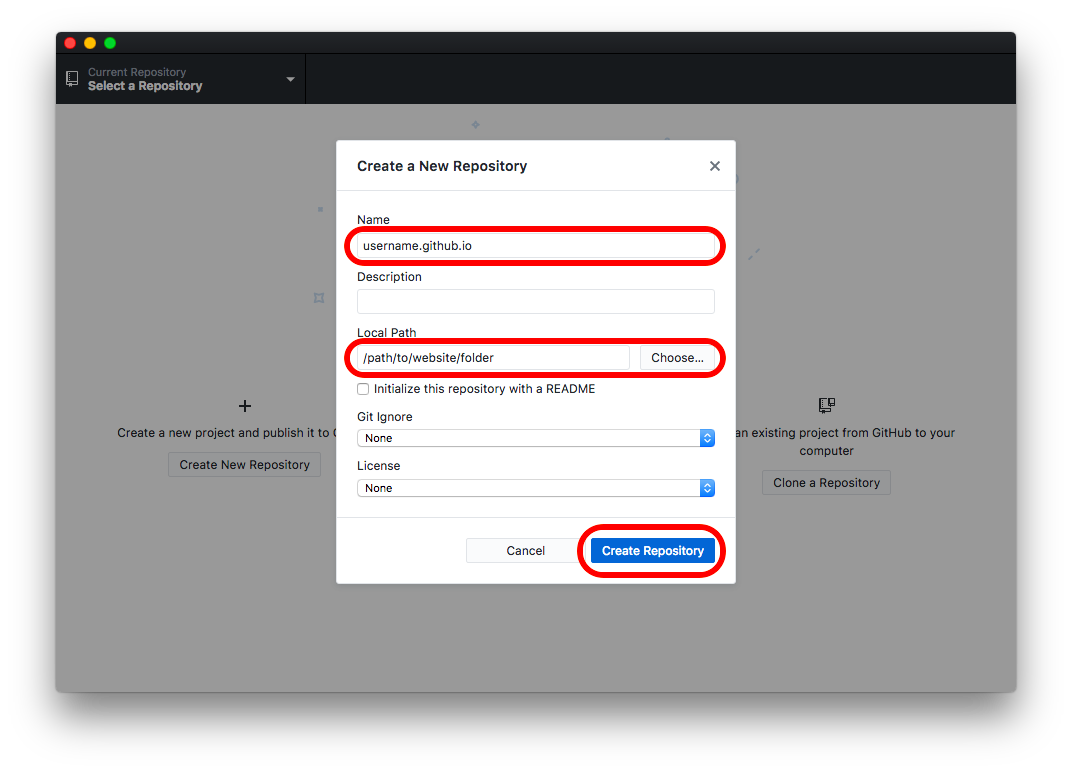
When you click it, a dialogue will come up. Enter your repository name (whateveryourusernameis.github.io) and choose where to save the repository folder on your computer. Leave all the other options as they are, then click “Create Repository”:
Adding your code
Now, it’s time to add our code! Move all of your website files into the repository folder on your computer, then go back to GitHub Desktop - it should now look something along the lines of this:
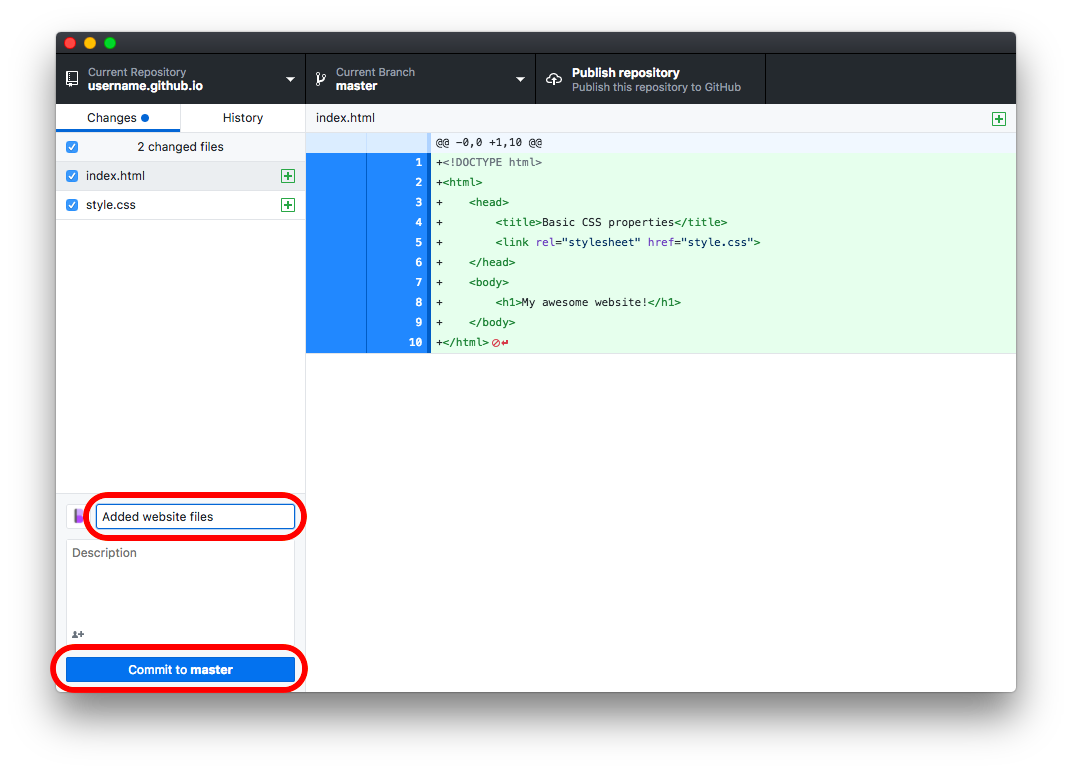
Fill out the summary saying what you did, then click “Commit to master”. This is just tech-lingo for “save my changes to the repository”.
Publishing to GitHub
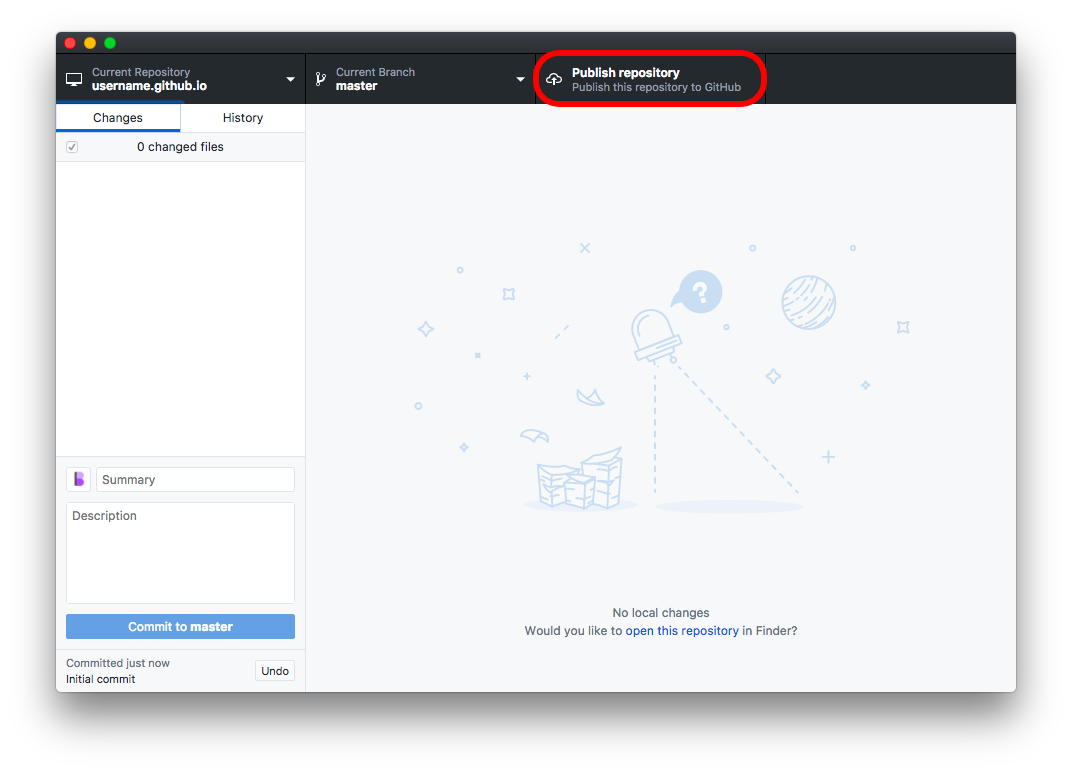
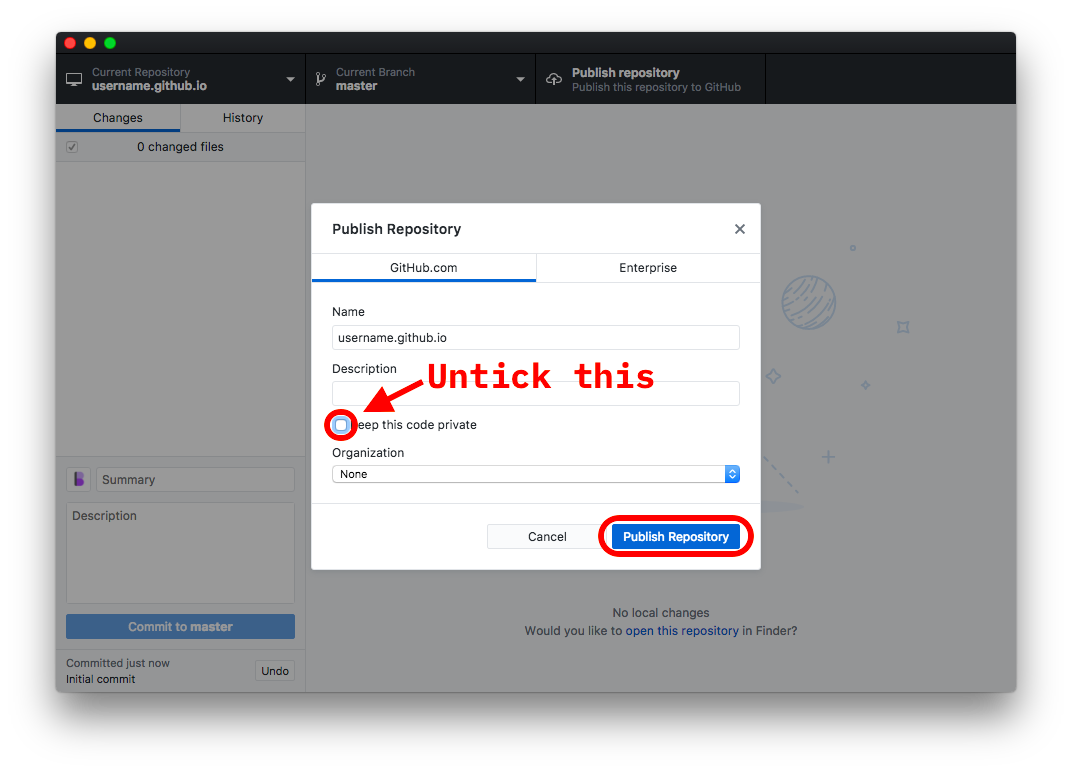
Next, click “Publish Repository” in the top right-hand corner - this will send your code to the GitHub servers to be hosted!
Leave all the fields as they are, but untick “Keep this code private” (you have to pay for that). Click “Publish Repository”:
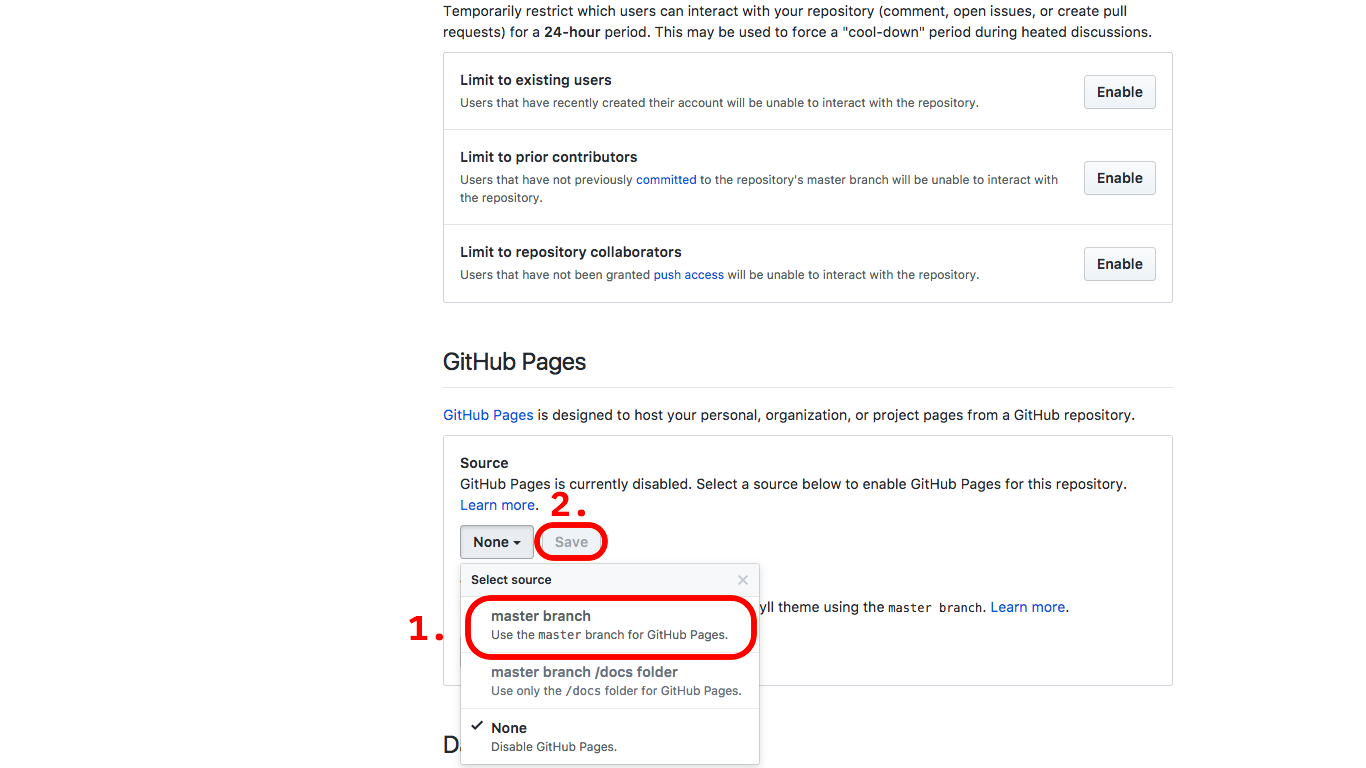
Next, we need to configure the settings for our website to be hosted! Go to github.com/yourusername/yourusername.github.io (eg. github.com/Booligoosh/booligoosh.github.io for me) and click on the ‘Settings’ tab.
Scroll down to where it says GitHub Pages, then click on the dropdown. Select “master branch”, then click “Save”.
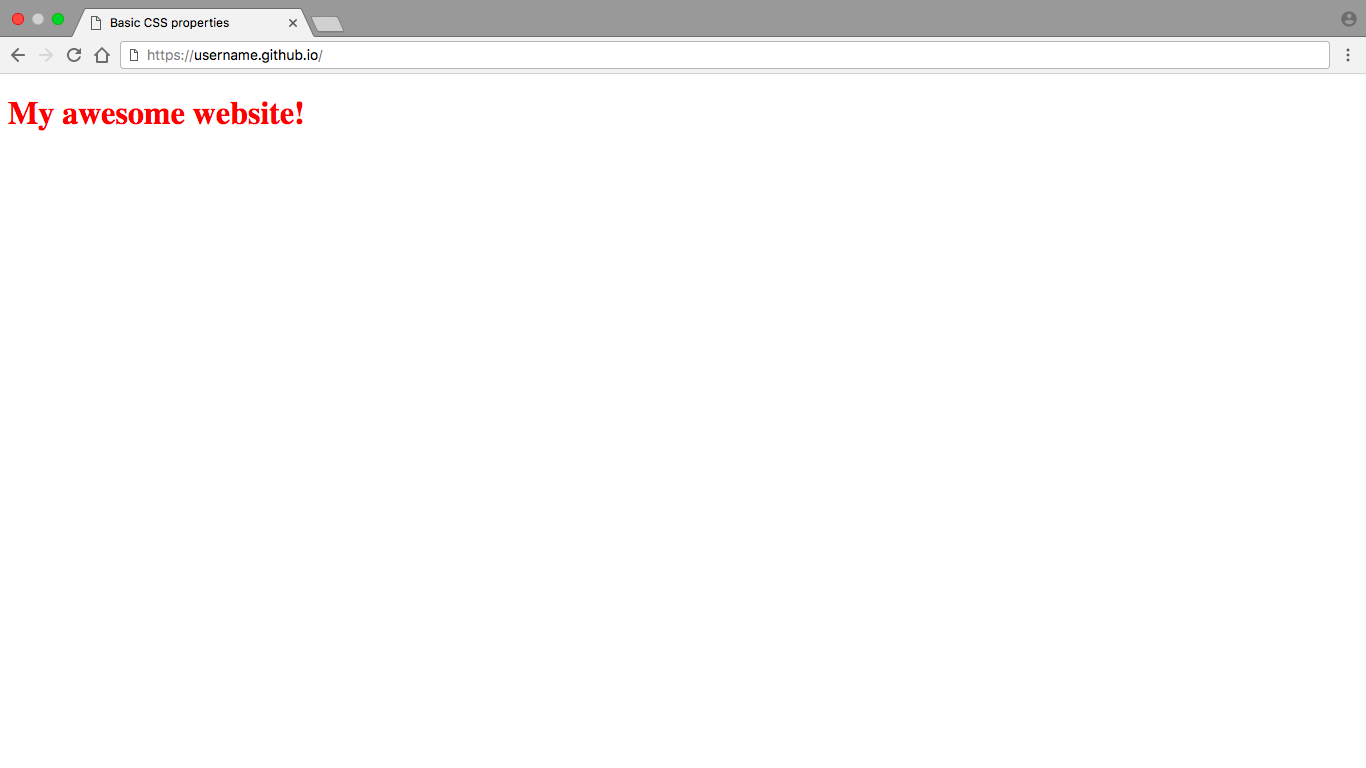
Yay! Now click on the link to take you to your new site!
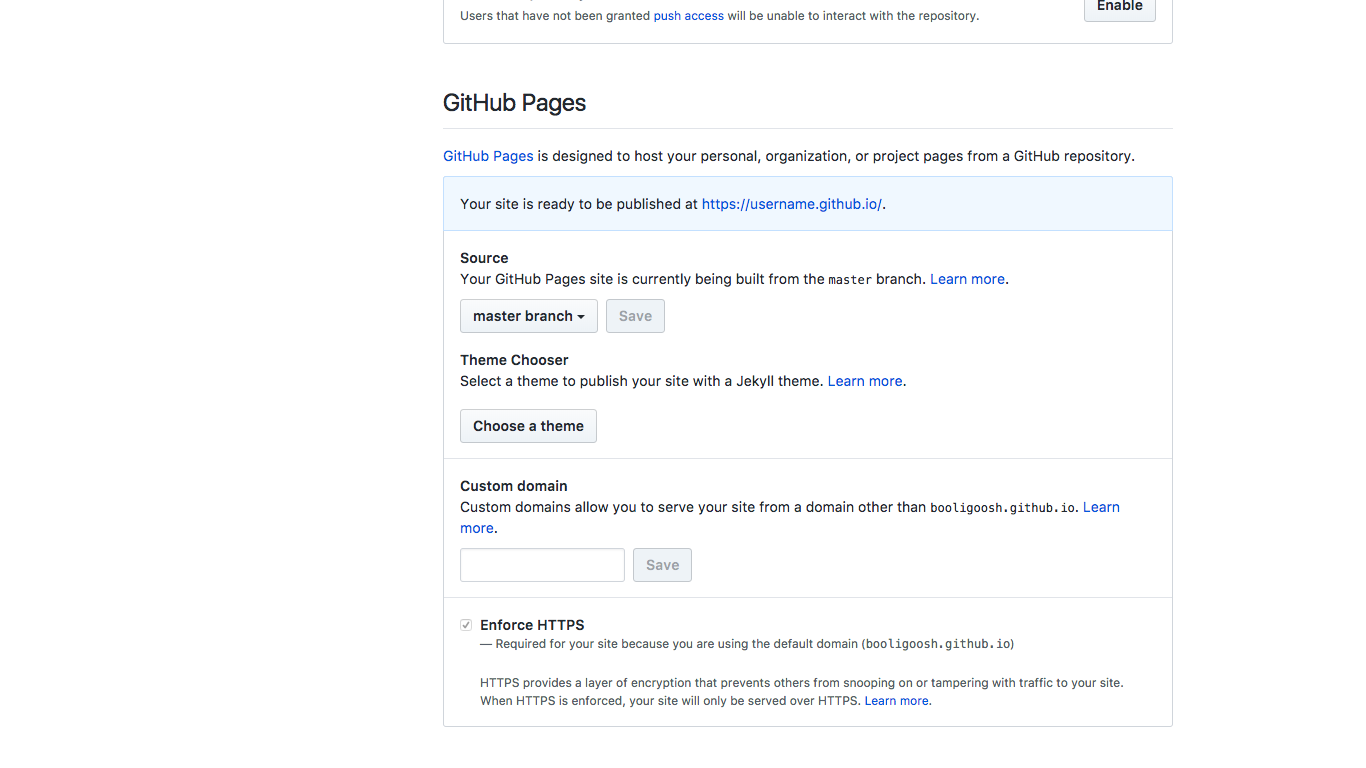
You now have a website!
Making changes
We’re nearly done! The last thing to do is to make a change to our website, from our computer! First, slightly modify your code in some way.
Now, go back to GitHub Desktop - it will even show you a summary of what you changed! Fill out your commit summary and hit the commit button!

Now, click “Push origin” in the top right-hand corner (where the publish button used to be). This is just tech-lingo for “Upload my changes to GitHub’s servers”.
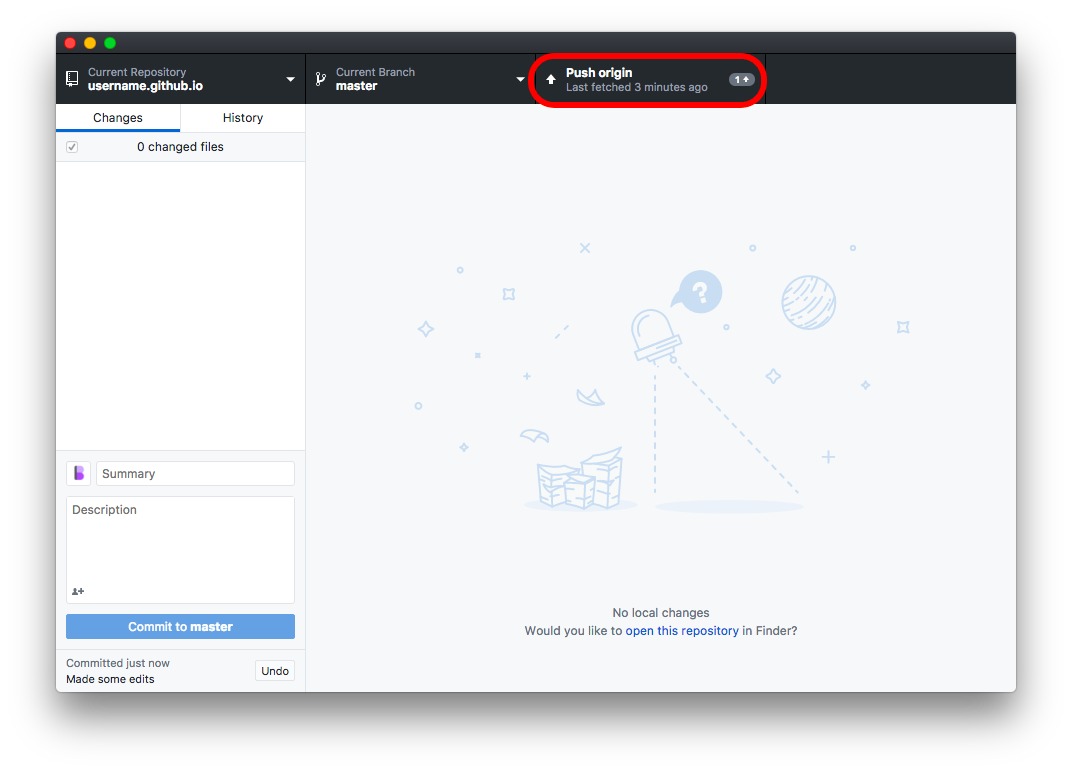
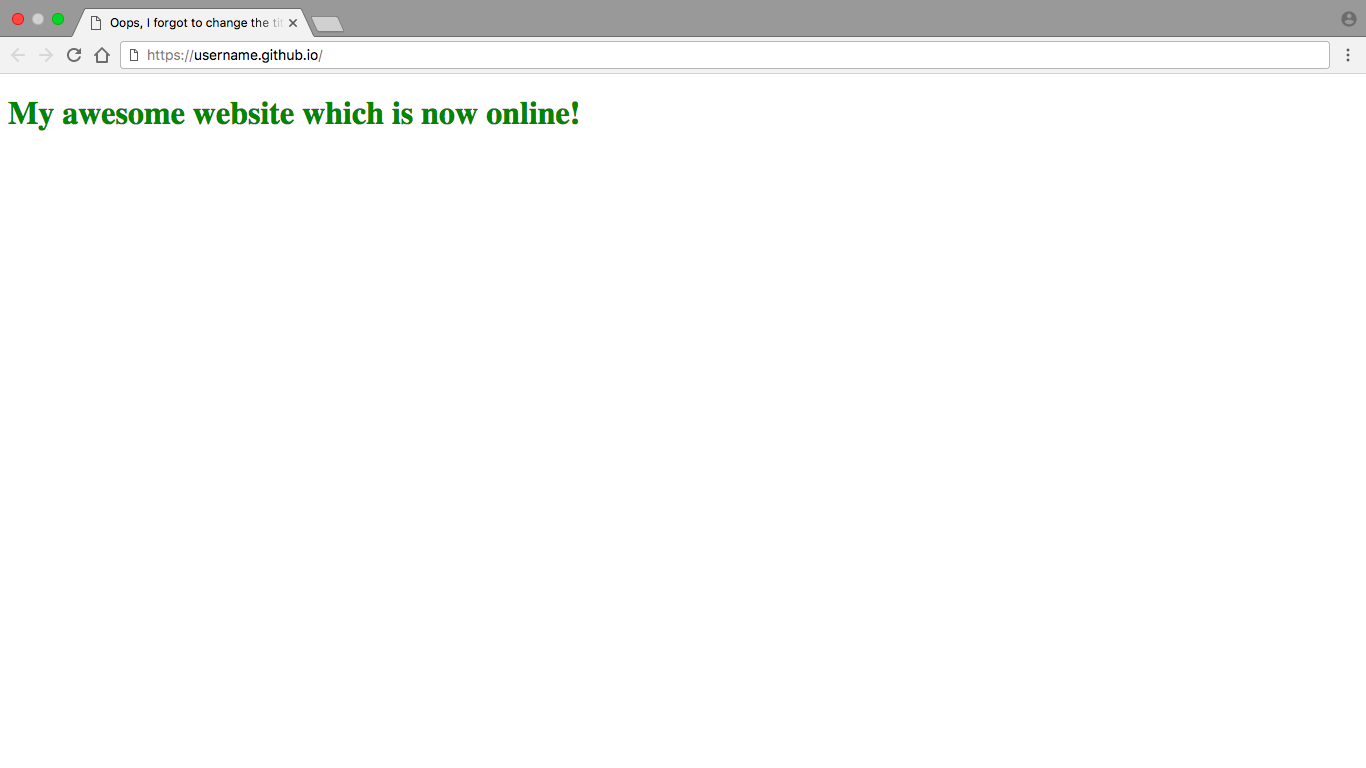
Now, wait for a few minutes. The time may vary, but often your site could take ~5mins to update (keep reloading the page to check). Eventually, the changes will load!
Conclusion
I hope you learned a lot today! You now know how to take your site from files on your computer to a real website on the internet! My goal is to teach people like you who are learning web development how to do so, and I’d really appreciate if you supported me in my mission either by sharing this or signing up to my newsletter. (you will get new articles in your inbox! 🎉 )
Next week I’ll be talking about how to use GitHub pages to host your website on a custom domain (so instead of your website being at username.github.io it could be at example.com or example.io or example.blog). You do have to pay a (small) fee for the domain name, but this way you still get free hosting! Stay tuned for that :)
Oh! And if you have any feedback, need any help or just wanna say howdy, do so in the comments below. Don’t forget to share, subscribe, and I’ll see you next time!