So, what can CSS actually do? Learn about basic CSS properties such as color, background-color, font-size and more…
Getting started
If you don’t already know the syntax and structure of CSS, check out my last article before reading this. If you know the CSS syntax already, let’s continue!
For this tutorial, we’re going to have some very basic HTML - we will be focusing on the actual CSS. Make a new project folder with index.html and style.css files in it. Add the following code to your index.html:
<!DOCTYPE html>
<html>
    <head>
        <title>Basic CSS properties</title>
        <link rel="stylesheet" href="style.css">
    </head>
    <body>
        <h1>I am a heading!</h1>
    </body>
</html>
In this tutorial, we will be testing our styles on that <h1> element above. Now you’re ready go dive in!
The color property
The first property that I want to cover today is the color attribute. It does exactly what you’d think - changes the text color of an element. Open up your CSS code and type the following:
h1 {
    color: red;
}
If you don’t understand the layout of this code, you might want to go back to my CSS syntax tutorial for a quick reminder. Here, we are styling the <h1> with our color property, which has a value of red.
IMPORTANT NOTE -
coloris spelt the American way. Deal with it. If you spell it “colour”, CSS will have no idea what you are going on about. If you are getting annoyed right now, think of all the terabytes saved worldwide by removing that one letter 😛
When you preview your code, you should see this:

So here we are giving color a value of red, but what values can we even give color?
Color names
Color names are like in the example above, where we used the color name red. There are common colors (such as yellow and blue) as well as less common ones (such as MediumSpringGreen or BlanchedAlmond).
You can see the full list of color names here.
NOTE: The next section goes into some more advanced color types. If you’re not interested, you can skip past.
RGB values
RGB stands for Red, Green and Blue, which are addded together to produce many colors. The values for R,G and B range from 0-255. Here is an example of an RGB color:
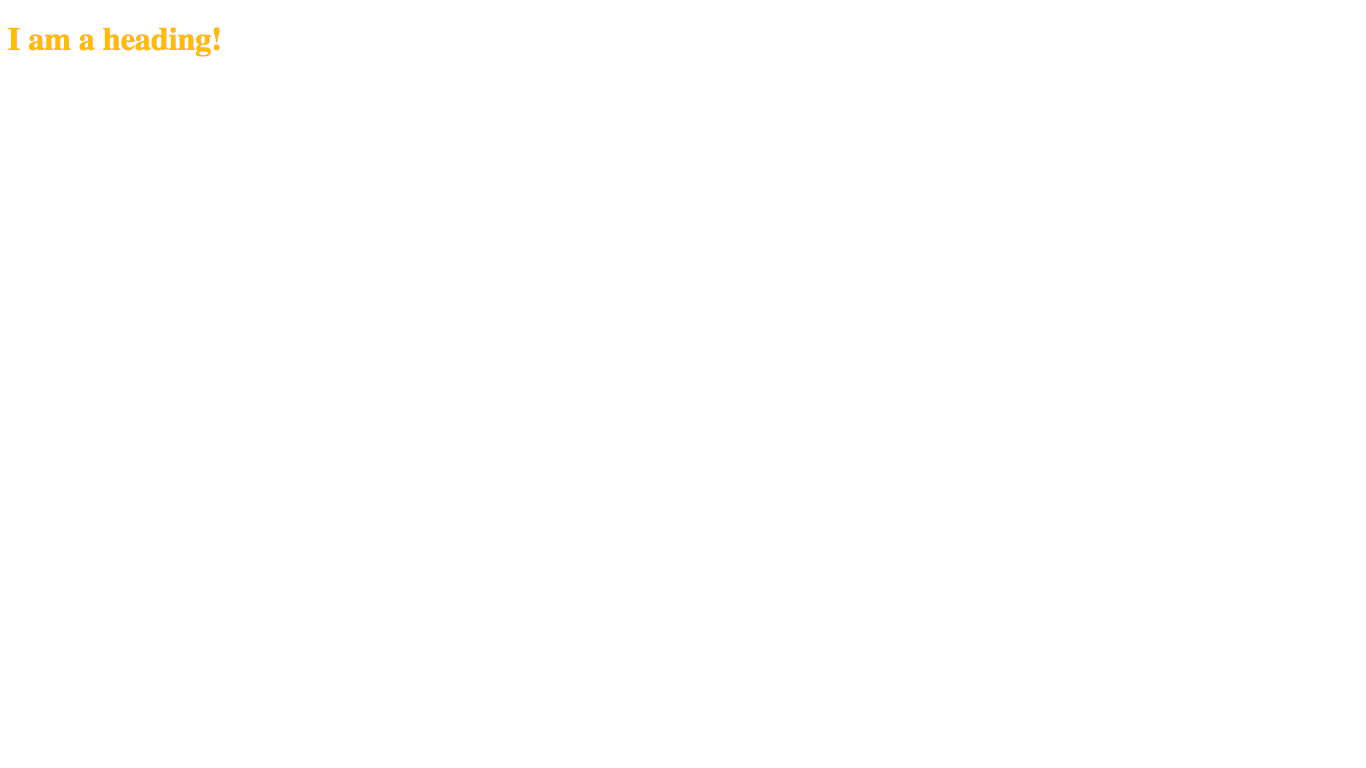
h1 {
    color: rgb(244, 188, 66);
}
Try replacing your existing CSS with this and see what happens.
RGBA values
This is exactly the same as RGB, except with the added A value, standing for alpha (opacity). The value for A is a decimal from 0.0 (completely transparent) to 1.0 (completely opaque). Try adding a 50% opacity to our rgb value from above - see if you can guess what the code will be:
h1 {
    color: rgba(244, 188, 66, 0.5);
}
Update your CSS file and see what effect it has on the text:

Hex values
Hex values are another way of writing RGB values (they do not support RGBA). Hex uses characters 0-f, in hexadecimal (base 16). Hex codes in CSS are made up of a #, followed by six characters - for example, #37e22b. Hex colors are made up of two-character pairs:
#37e22b37- Rede2- Green2b- Blue
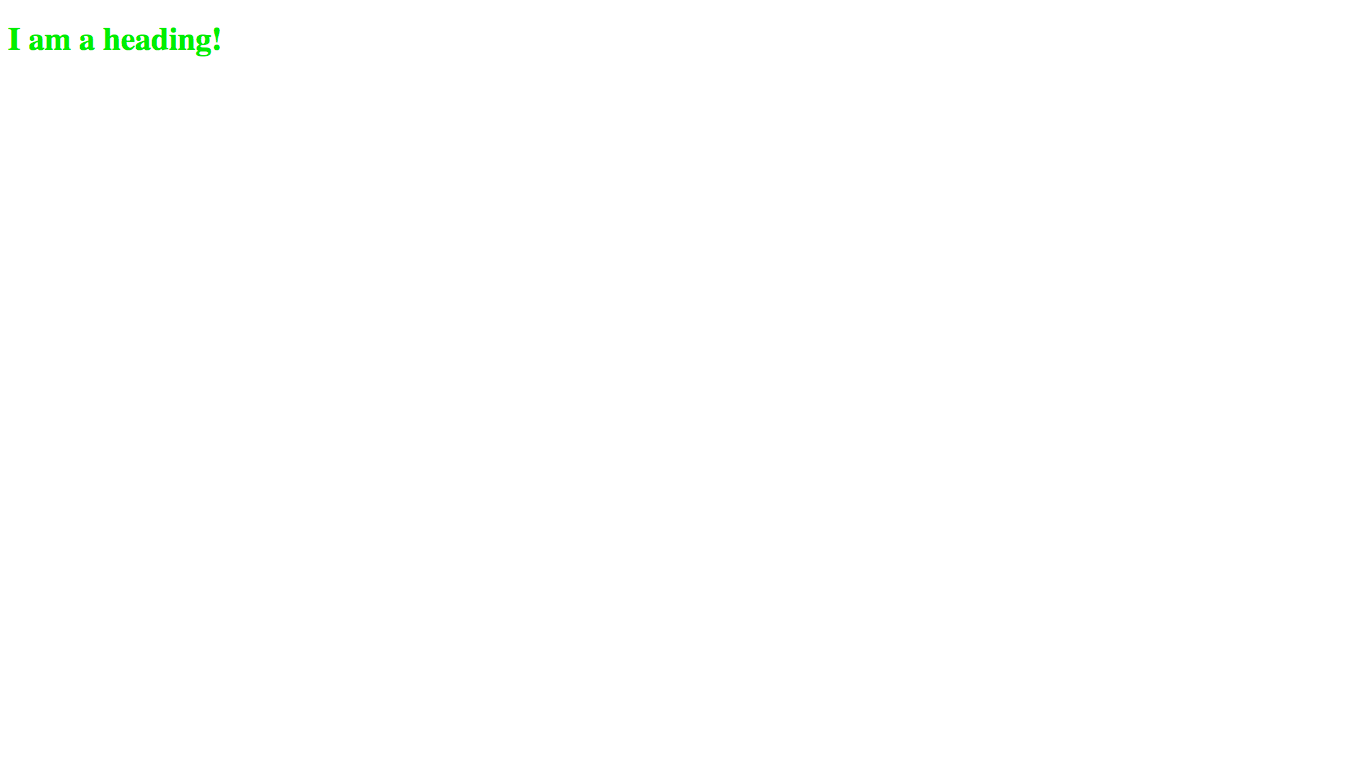
Sound confusing? Don’t worry - all that you need to remember is that they are another way of writing RGB and how to write them. Try replacing your CSS color value with the hex code from above:
h1 {
    color: #37e22b;
}
Now, preview your code and see what happens:
Hex values are the most used way of representing colors in CSS.
Other types of colors
There are a few less common color types allowed in CSS such as HSL and CMYK.
Color converter
If you need help converting colors, check out this handy tool.
Color picker
If you need help finding the RGB or HEX value of a particular color that you have in mind, check out this color picker.
The background-color property
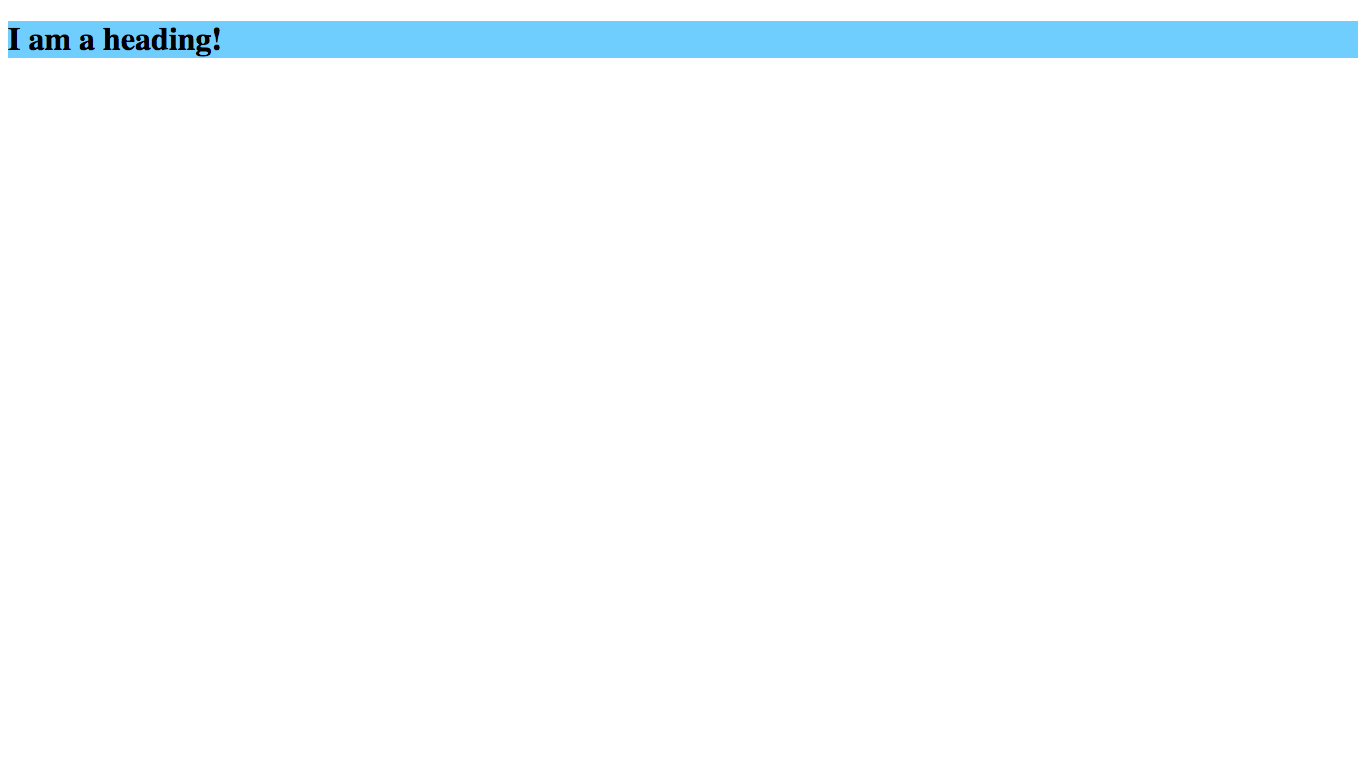
The background-color property changes the background color of an element. It takes the same values as the color property (the types I discussed above). Remove your existing color property, and replace it with this:
h1 {
    background-color: lightskyblue;
}
Reload the page to see how the background-color property works:
In the next tutorial, I’ll be teaching you how to make this look a lot better with the padding, width and height properties.
By the way - the stuff that we’re making at the moment looks TERRIBLE. But don’t lose hope - it all starts somewhere. You need to know the actual CSS properties and how they work before you can make complex stuff that looks good. That’s my inspiring pep-talk done for the moment 😛
The background-image property
Here is where things start to get fun - let’s play with some images! Like in HTML, images are linked from URLs (see this article). The same thing applies in CSS! Here is how you declare a background image in CSS:
h1 {
    background-image: url('https://codetheweb.blog/assets/img/header-img.jpg');
}
The single quotes are not necessary, but it is good practice to put them in.
Try replacing the background-color in your CSS with the background-image url from above. See what happens:

It cuts off some of the image, but at least there is an image there! In this post, I’ll be talking about more cool ways to manipulate the background image.
OOOKAY. Now we’re done with colors and backgrounds!
The font-size property
This property is used to change the size of the text, and takes an amount of pixels as a value, eg. 100px. See if you can work out what the syntax will look like:
h1 {
    font-size: 100px;
}
Remove your background-image property and replace it with a font-size of 100px. Reload the page and see what happens:
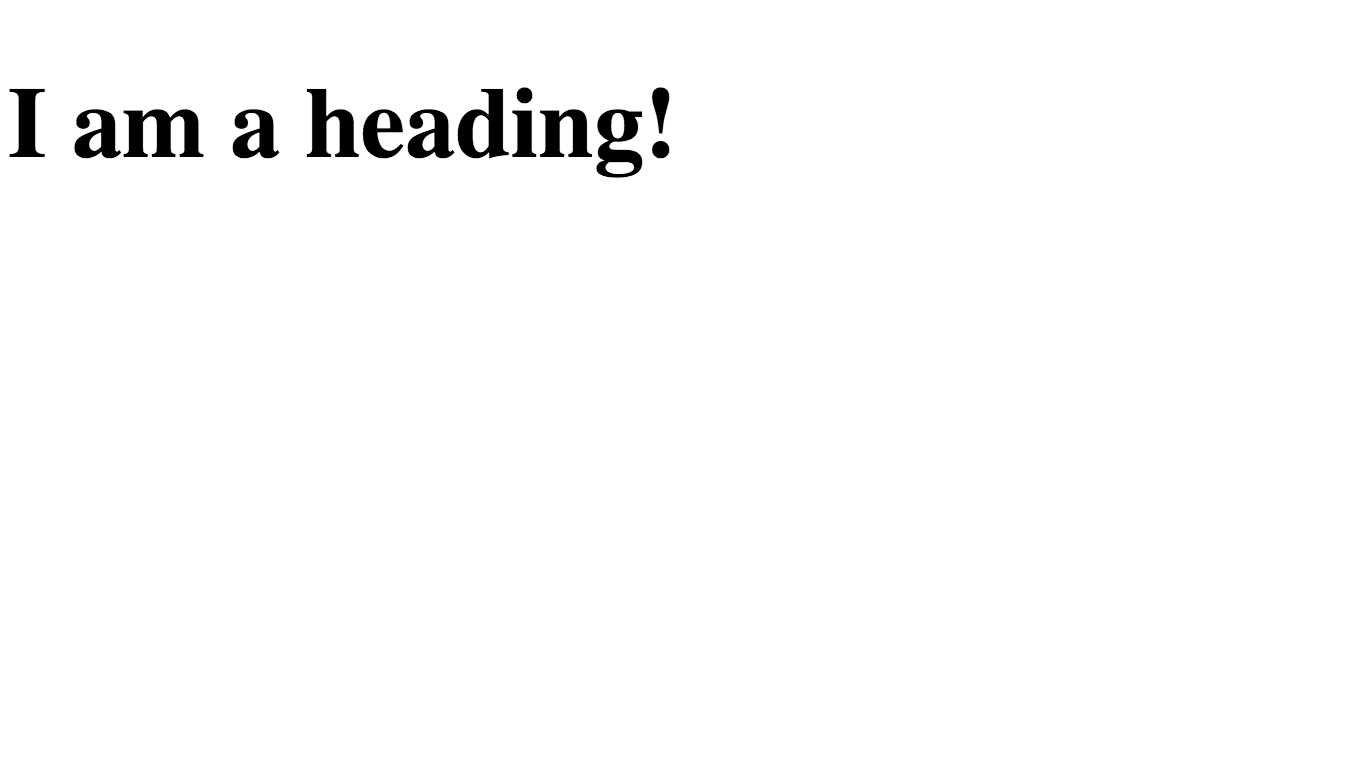
WOAAH! Now it’s huge! Play around with the values and see what you think looks good.
The text-align property
This is the last property I’ll be covering in this tutorial. The text-align property is used to, well, align text. It accepts four values: left,right, center and justify. By default, text is aligned to the left in CSS. See if you can work out how to center it:
h1 {
    text-align: center;
}
Now, remove font-size fromm your CSS file (again so we can focus on text-align) and add the above CSS instead. Preview it and see what happens:
You can also align it to the right (with text-align: right;):
Conclusion
Okay, that’s it for today! I hope you enjoyed it ;)
If you have any questions, feedback or need help then let me know below in the comments. If you liked this article, I’d love it if you shared it with your friends and joined the newsletter for new posts.
Have fun, and I’ll see you next time where I’ll be talking about CSS sizing and positioning. See you then!
This article is the second post in my Learn CSS series. You can view all my CSS tutorials in order on the learn CSS page — to help you along your coding journey.